This guide covers the VAT reporting process in Netvisor step by step.
1. Ledgers, bank statements
- Before you make a VAT entry, check the following:
- Are all sales invoices for the period sent/printed, meaning they have receipts. (The date belongs to the period for which you are recording VAT)
- Are all sales payments for the period processed.
- Are all purchase invoices for the period processed.
- Are all purchase payments (payments) for the period processed.
- Are all bank statements for the period processed.
- Check the separating receipts. (Open receipt browsing and select "show only separating receipts")
- Check that there are no discrepancies in the accounting reconciliation view.
- Ensure that no entries belonging to the period are left undone. If you need to make entries for the period later, you must bypass the VAT lock, correct the situation, and finally cancel the bypass and record VAT again.
2. Record value-added tax
- Open Financial Management - Company Obligations - VAT Calculation
- Select year and period, optionally "Show account balances"
- Check and compare the items (small rounding differences may occur, which is completely normal)
- Total taxes payable
- Accounting VAT liability account balance for the target month
- Total deductible taxes
- Accounting VAT receivable account balance for the target month
- When satisfied with the calculation, "Record value-added tax and rounding difference"
- The system transfers VAT entries to the tax account
3. Move to self-initiated taxes view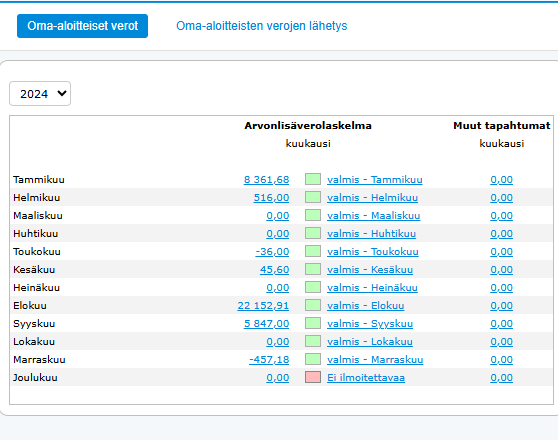
- Open Financial Management - Company Obligations - Self-Initiated Taxes
- Add possible VAT reliefs and create the declaration
- Create tax account transfer
- Check payment date
- Select payment account
- Check and correct the amount if necessary
- Transfer the account transfer to the payment view by pressing the respective button
- The tax account transfer is now ready in the Purchase menu under Transfers
4. Move to self-initiated taxes submission view
Submission of materials is possible as long as the company has a certificate in order.
- Open Financial Management - Company Obligations- Self-Initiated Taxes Submission
- Check the period tax declaration to be sent
- Send the declaration by pressing the "Send Selected" button
Note!
If sending is not successful, it is possible to create a transfer file for the ilmoitin.fi service from the view. The file is created by pressing the "Process Selected Without Sending" button and "Create and Download ilmoitin.fi Transfer File" (remember to check the desired declaration before pressing the button). Save the transfer file to your desired folder on your hard drive and send it manually via the ilmoitin.fi service.

When the submission is done via the ilmoitin.fi service, you must mark the respective declaration as sent. Check the declaration and press the "Set Selected as Sent" and "Mark Declarations as Sent" buttons. The "Mark Declarations as Sent" button DOES NOT SEND ANY MATERIAL TO THE TAX AUTHORITIES, it only sets the declaration status to "sent".
Did you find it helpful? Yes No
Send feedback